 It’s that time of year again – the time where you’ll be seeing tons of orange, red, and yellow everywhere. The leaves are changing colour and the stores are filled with Halloween decorations and Halloween candy. My favourite part of the season are the pumpkins. They’re great in cooking and baking (Pumpkin Spice Muffins, anyone?), and they’re always so brightly coloured and festive! So of course I didn’t pass up the chance to incorporate some pumpkins into this year’s round of Halloween baking!
This year, I made pumpkin sugar cookies. Using a basic sugar cookie recipe (which you can find below), as well as a set of nested pumpkin-shaped cookie cutters from Wilton, I made dozens of soft, delicious cookies.
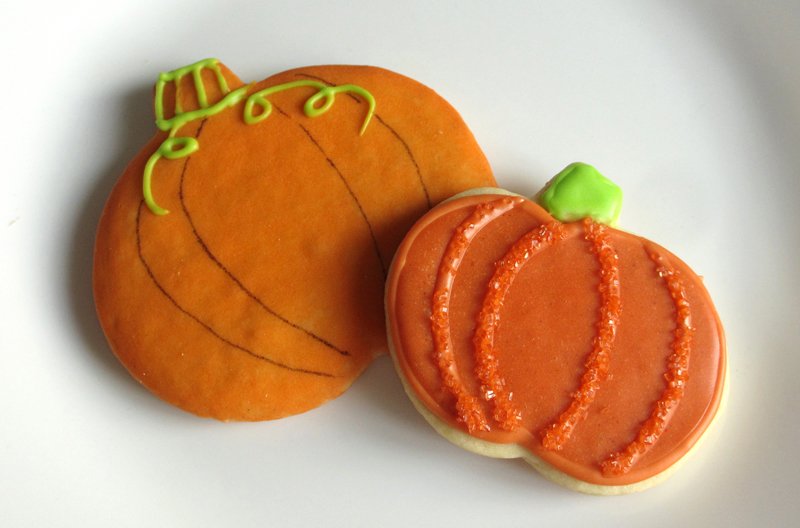
Of course, no sugar cookie is complete without icing. I iced my cookies in two ways: using a light glaze, and using royal icing to flood the cookies. Both methods have their advantages and disadvantages. In the picture below, the cookie on the left was iced using a glaze, and the one on the right was flooded with royal icing.
Glaze
I made the glaze by using a tube of Ready-to Use Icing from Wilton, and thinning the consistency using a few teaspoons of milk. The glaze resembled the viscosity of condensed milk. I used a pastry brush to “paint” the glaze onto my cookies. The pastry brush allowed me to cover the entire cookie with the icing, including the sides. The finish is very smooth and it looks as though the cookie itself is orange.
The benefits of using a glaze is that it’s very quick. You can cover a lot of cookies in a very short amount of time in comparison to using royal icing. I’d also recommend a glaze if you’re looking to sweeten up your cookies just a little. The glaze is only a thin layer of icing, so it’s perfect if you don’t like your cookies to be too sweet.
I’d say that the only downside to using a glaze is that it doesn’t look quite as professional as the cookies iced with royal icing. It’s an excellent way for beginners to start out though!
Royal Icing
Royal icing is the typical icing of choice for cookie decorators everywhere. It takes a little more than 10 minutes to prepare the icing, but it’s worth it. I separated my icing into three bowls, and tinted one of them orange, one green, and left one white (for accent decorations such as eyes). From there, I transferred each colour into a piping bag. I use a makeshift piping bag (a sandwich bag with the corner snipped off), because I find they work just as well as the real deal, and are disposable and inexpensive! I piped an outline onto each of my cookies, and allowed it to dry.
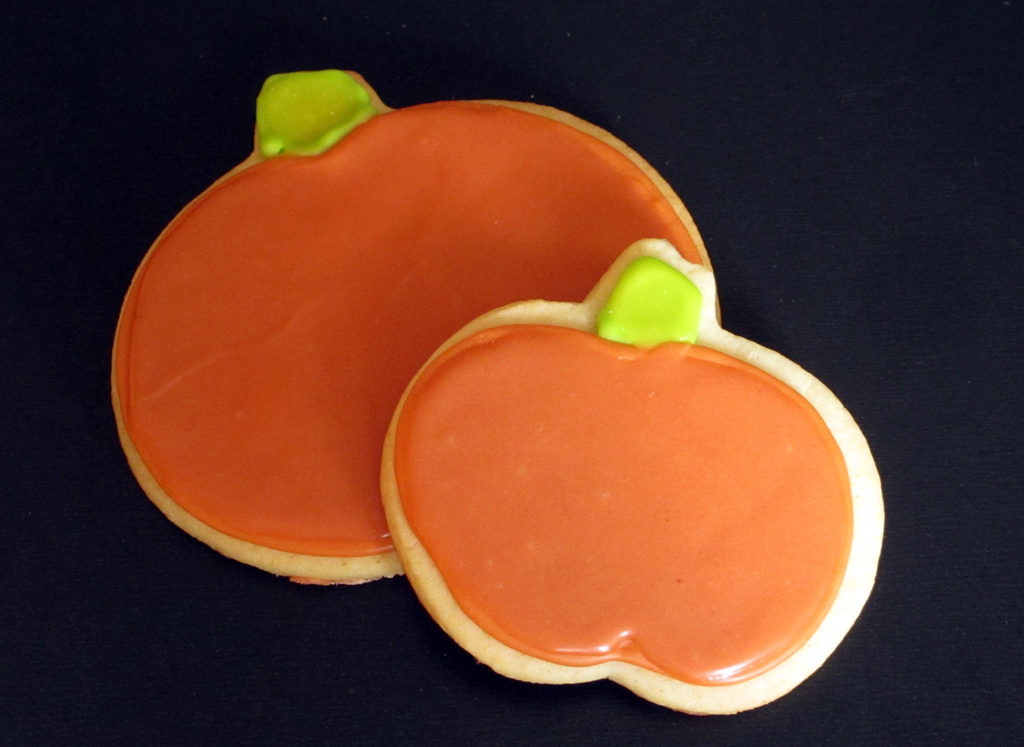
With the remaining icing, I added a bit of water to it to thin the consistency and make it fairly runny. I transferred this icing into a piping bag and piped a bit onto my cookies, one at a time. This process is called “flooding” the cookies, and the original outline acts as a barrier that keeps the runnier icing in place. I used a spoon to spread the icing around to fully cover the cookie, and to pop any air bubbles that formed.
The great part about royal icing is the taste – it makes great sugar cookies taste even more delicious! It also looks smooth and shiny when it dries, giving the finished cookies a professional appearance.
The downside to royal icing is all of the preparation time, as well as the decoration time. Since each cookie needs to be outlined first with one consistency of icing, then flooded with a thinner consistency, each step takes a great deal of time. In addition, since you’ll be piping outlines around the cookies, you’ll need a certain degree of precision. Beginners, don’t shy away from this method, but keep in mind that you’ll need a bit of practice before your decorated cookies look perfect.
The other downside is that it takes quite awhile for royal icing to dry! I tried adding sprinkles to my cookies before they had fully dried and I ended up with a few messy pumpkin cookies!
Other Decorating Ideas
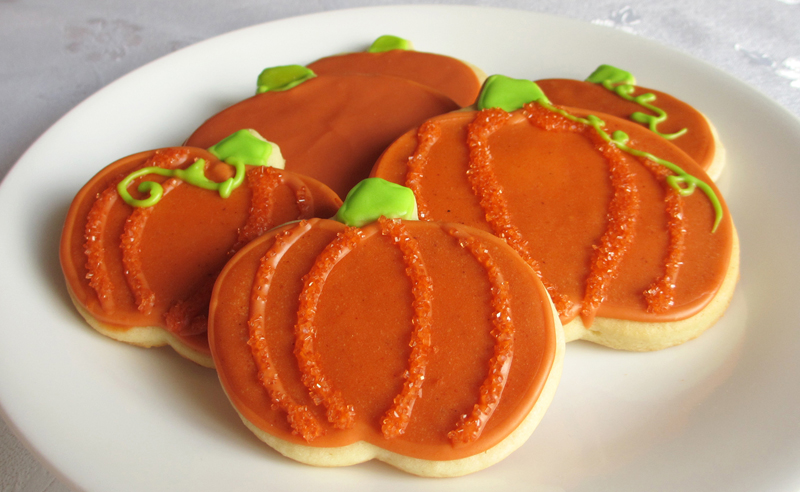
My favourite way to decorate my pumpkin sugar cookies was by piping the ridges onto the pumpkins using orange icing, and then dipping the cookies into a plate of orange sprinkles. This is easy to do, and as long as your cookies were fully dry before beginning the decorating, you should end up with a very professional result, as seen above.
Another fun idea is to use edible markers, such as these FoodWriter Markers from Wilton. I drew faces and messages on some of my cookies. Kids love using these, too!
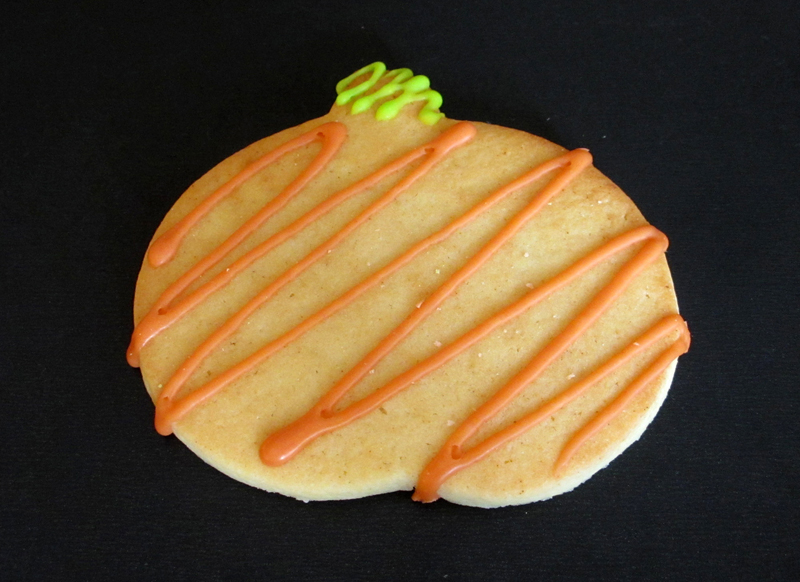
If you don’t think the glaze or flood icing method is for you, or if you’re just pressed for time, consider using icing to pipe zigzag lines across your cookies. The look is very artistic, and I think that it’s quite cute!
I hope this post inspired you to make some pumpkin cookies of your own! You can download a printer-friendly version of the recipe here: Pumpkin Sugar Cookies.
To see how I achieved all of these cookie designs, take a look at my YouTube video on how to make Pumpkin Sugar Cookies.
♥ Shnugglebunny
Tags: autumn, cookie decorating, cookies, fall, glaze, halloween, icing for cookies, orange, pumpkin, pumpkin cookies, recipe, royal icing, sugar cookies
