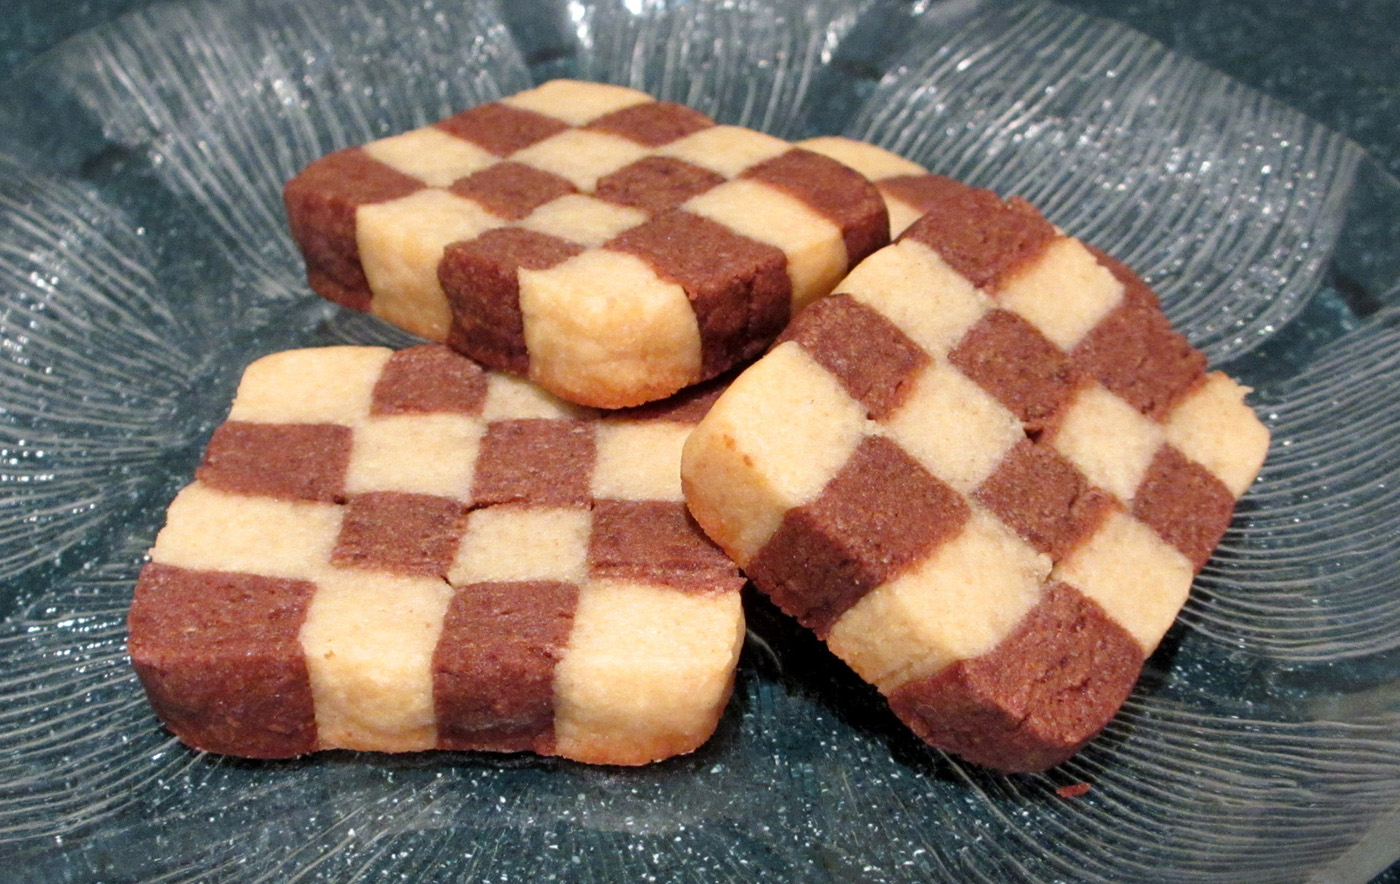
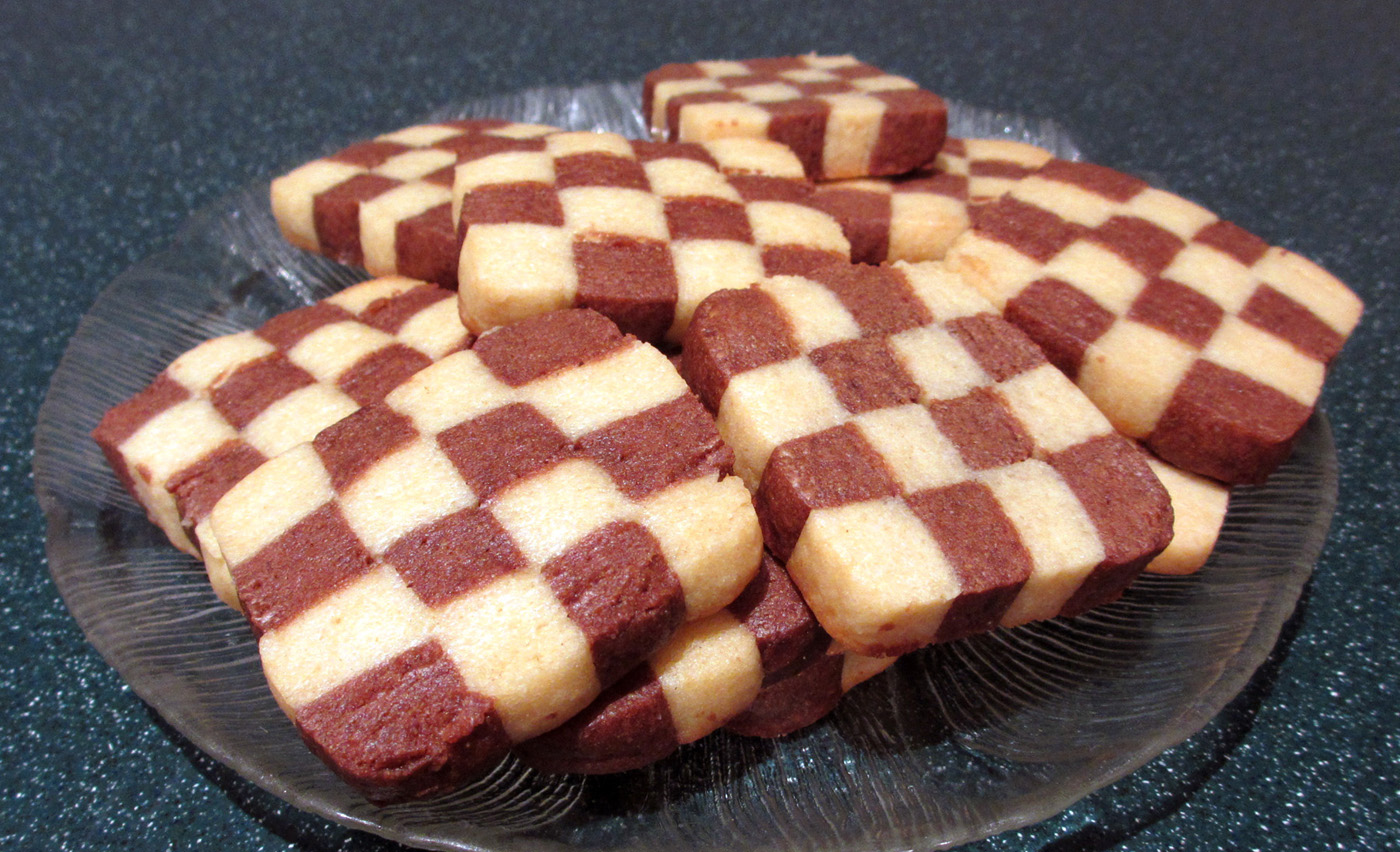
If you want to make cookies that’ll impress your friends and family, this recipe for checkerboard cookies is the perfect choice! Regardless of whether or not you’re a fan of chess or checkers, these cookies are simply awesome! Although they look pretty tricky, these cookies are actually quite simple to make, it will just require a bit of patience to assemble the checkerboard dough.

The recipe is essentially a regular sugar cookie recipe, in which you’ll create a regular dough and a chocolate dough. Be careful to adhere to the recipe in terms of flour, because too much of it will cause the dough to become crumbly and it won’t stick together properly. It’s better to be safe and have to add a bit of extra at the end, than to realize you’ve added too much and try to compensate by adding liquid after the dough is already made.
Once you’ve made the dough (and chilled it for a bit), you’ll have to roll it out. This is really the most difficult part of the recipe, because your goal is to create a rectangle that is 6×4 inches in size, and approximately half an inch thick. If you’ve ever rolled cookie dough before, then you’ll be familiar with its tendency to roll out in a circular form. Use your hands to help shape the dough into a rectangle as you roll, and it will make the whole process easier. When you’ve finished rolling, try to get the outside edges as straight as possible by pressing the side of a knife against the dough, or trim the dough to the correct size if necessary.

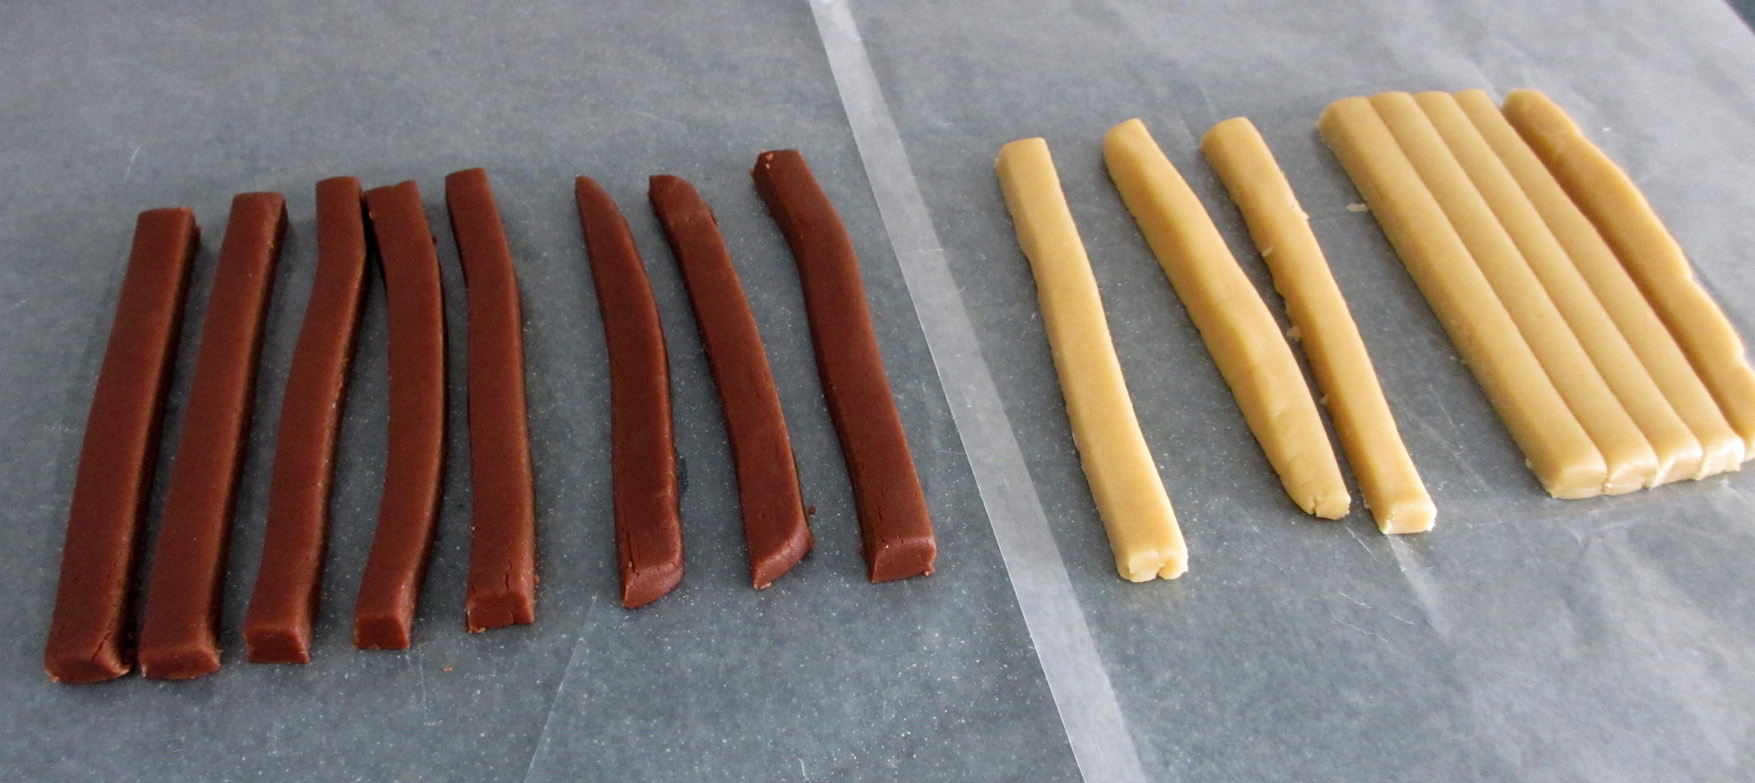
Now you’ll be dividing the 4-inch side into eight equal pieces (approximately half an inch wide). When you’ve cut up all your dough, you should have 16 long pieces of chocolate and plain dough.
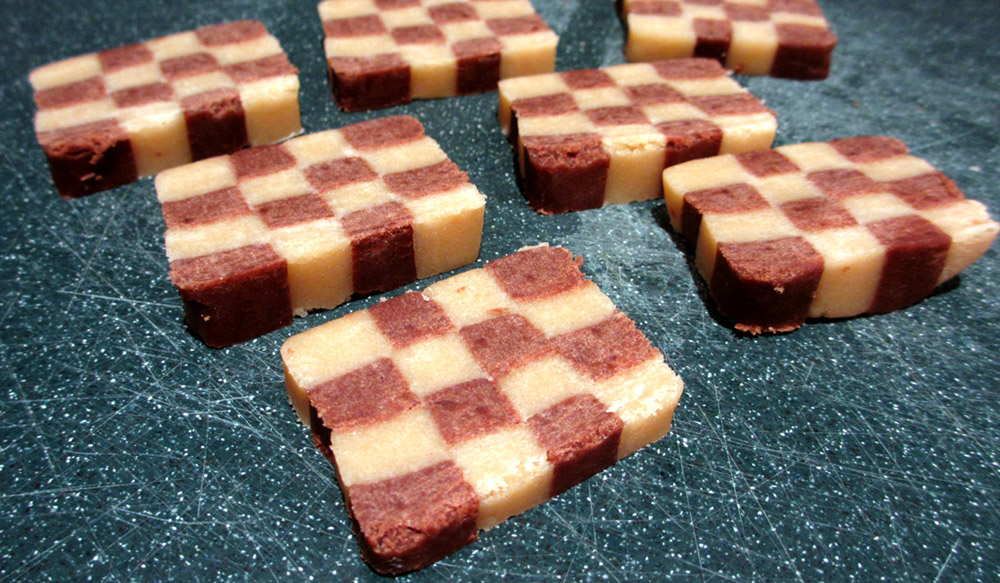
At this point you’ll be ready to create the checkerboards! Choose 4 pieces of dough (2 chocolate pieces and 2 plain pieces) and stack them on top of one another, alternating between the plain and chocolate dough. Do this with the remaining dough, and make sure that two of the stacks have chocolate dough on the bottom, and the other two have plain dough on the bottom. Then press all four stacks together to form a checkerboard block. If you’ve done it correctly, the tops of the stacks should alternate between colours as well to create the checkerboard pattern. Make sure you press gently all throughout the entire long block of dough, to make sure that all of the dough sticks together.
After refrigerating the dough, you can easily slice it into cookies. The first one sliced off may look a bit uneven, but everything after that should look awesome!

Since checkerboard cookies are a little complicated, I created a video tutorial to guide you through the process. Check it out below, and be sure to subscribe to my channel if you aren’t already a subscriber!
Below you can find my recipe for checkerboard cookies. You can also print a copy of the recipe here: Checkerboard Cookies Recipe.
Checkerboard Cookies RecipeIngredients
Directions
|


