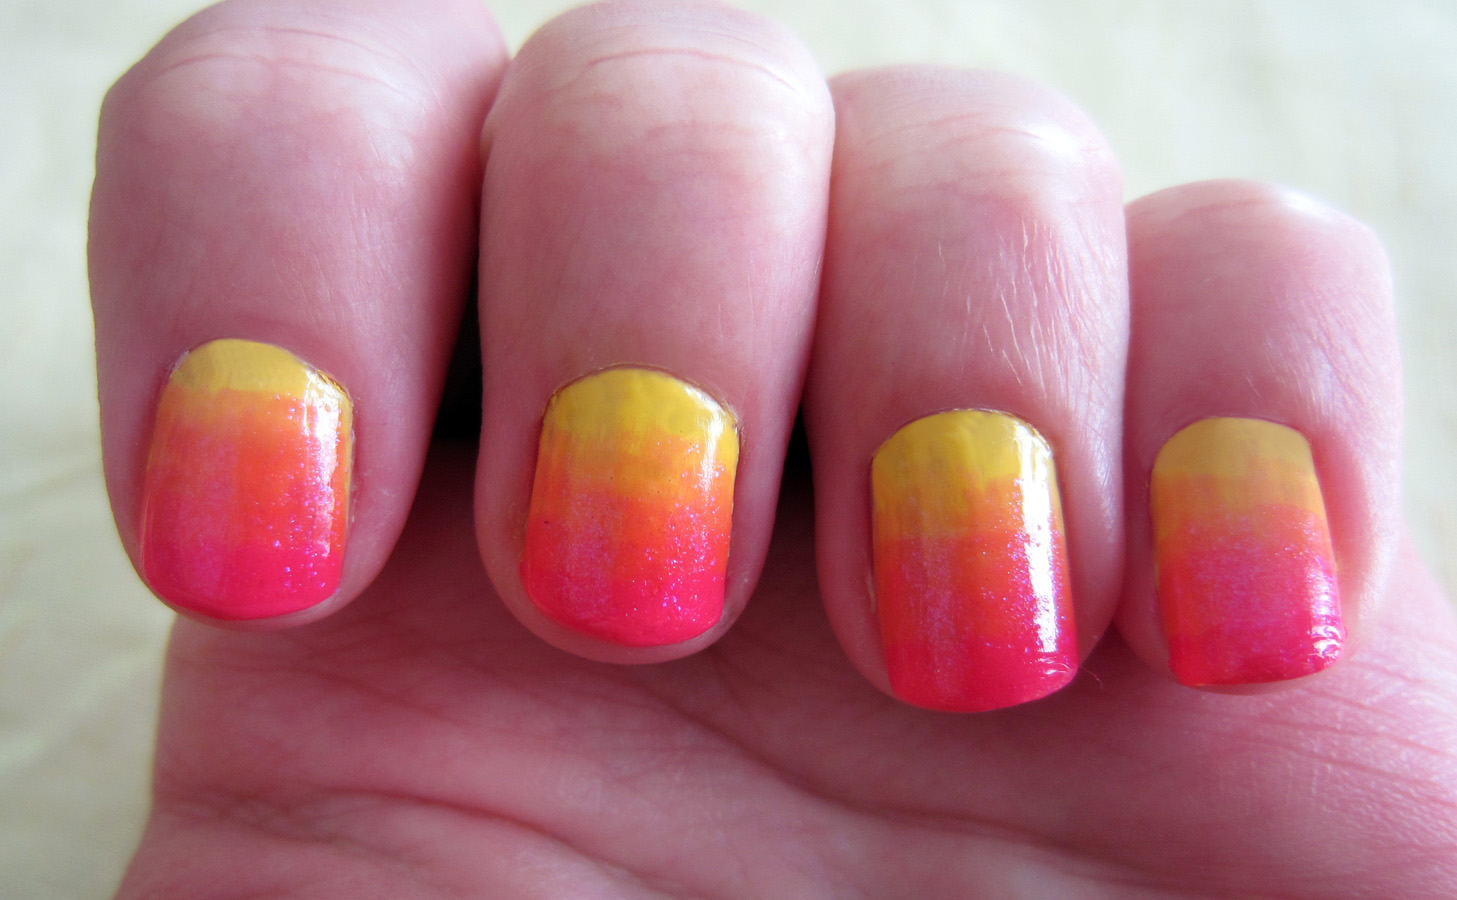
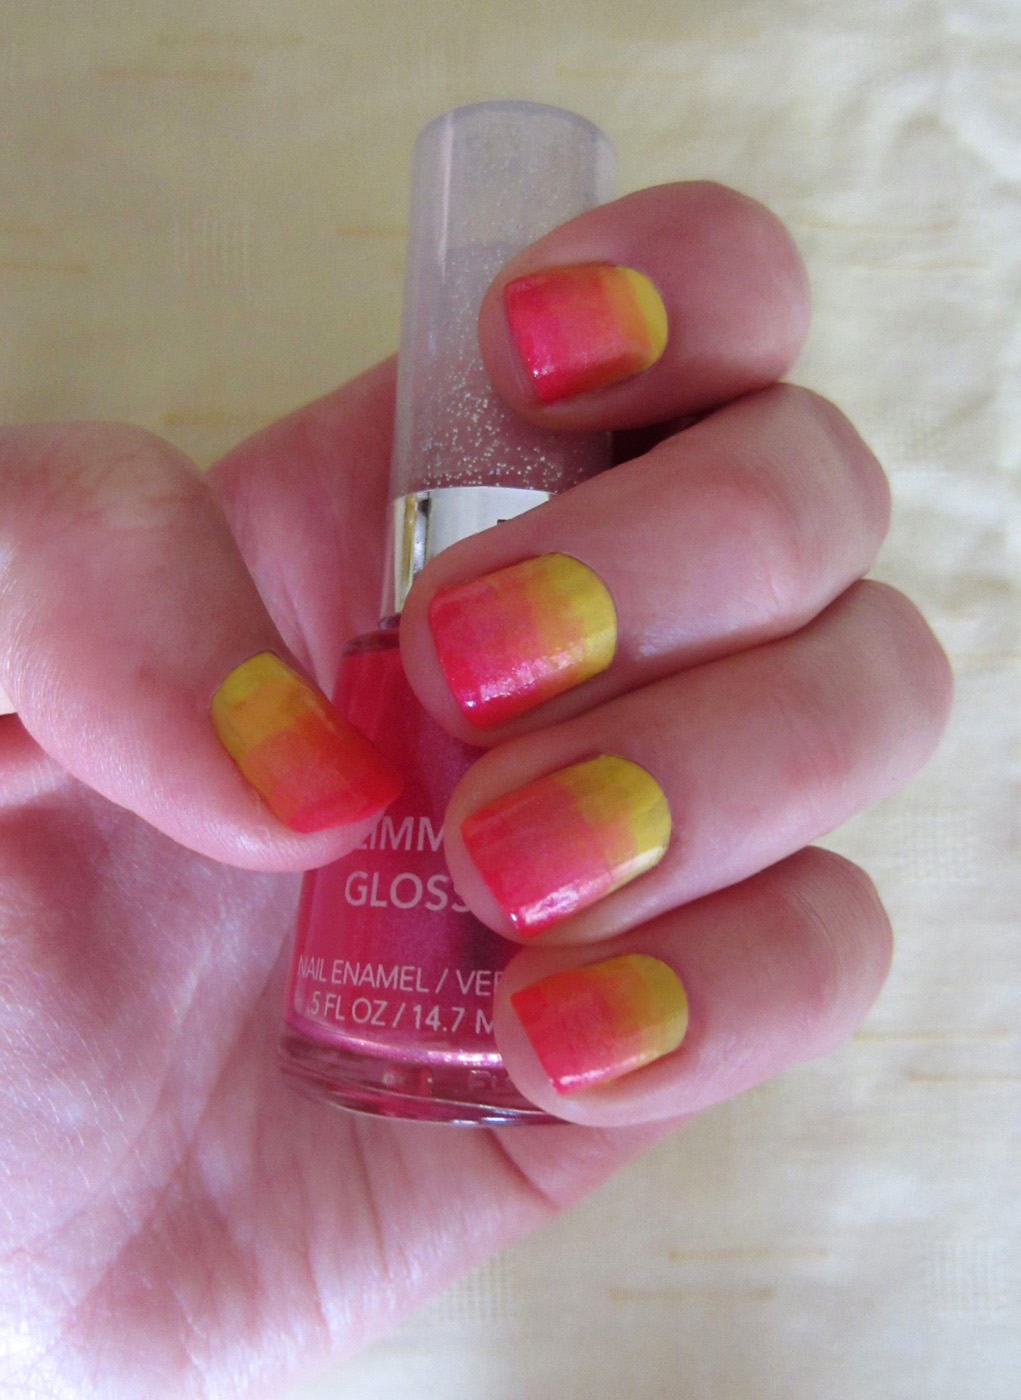
 A few months ago I found a sunset-inspired manicure on Pinterest, and I’ve been waiting all summer to try it out for myself. My nails have been quite short for some time now, so now that they’ve finally stopped breaking and have been growing consistently, I figured now would be as good a time as any to try out some sunset nails for myself! This look features a gradient effect that fades gradually from yellow at the base of the nail, to a bright pink at the tip.
Most gradient tutorials that I’ve seen use a makeup sponge to create an ombré effect and blend the polish together. I decided to try out a different technique, however, by using a translucent nail colour in multiple layers.
Although this tutorial involves several layers of nail polish, because they layers are so thin, they dry very quickly so the process does not take long at all. In addition, the fact that you are solely using nail polish rather than a makeup sponge makes the process easy and mess-free. I promise you that the final result will be worth the effort!
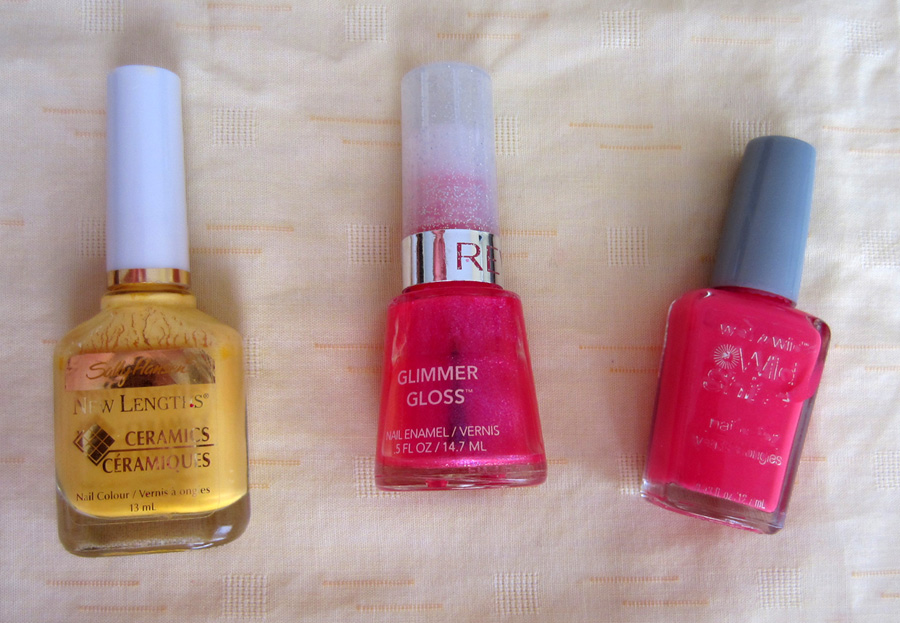
To begin with, you’ll need three colours: an opaque yellow for the base, a translucent pink for the gradient, and an opaque pink for the tips of your nails.
The specific nail polish colours I used are listed below:
- Opaque Yellow: Sally Hansen New Lengths Ceramics – #05 Cosplay
- Translucent Pink: Revlon Glimmer Gloss – #635 Strawberry Sizzle
- Opaque Pink: Wet n Wild Wild Shine – Dreamy Poppy
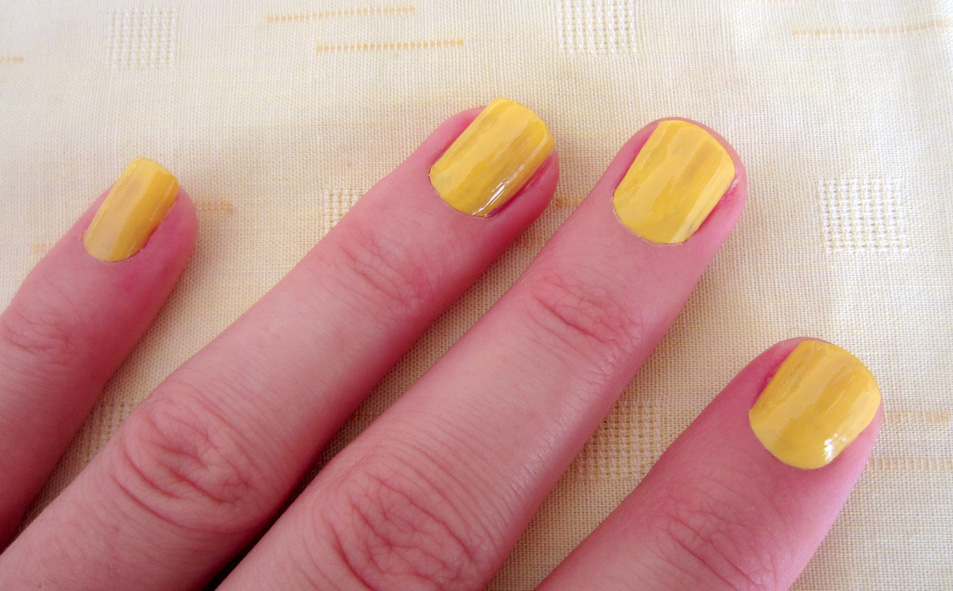
After applying a base coat to your nails, paint them with the yellow. Depending on the polish you are using, you may need to apply two coats.
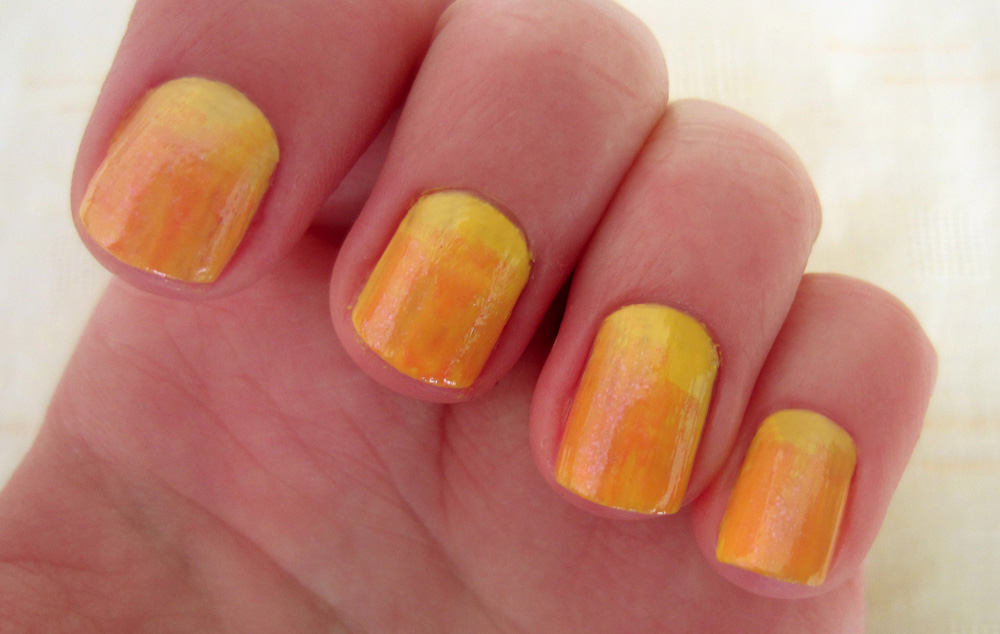
Next you’ll be using the translucent pink. Starting about halfway up your nail, apply the polish all the way to the tip. Gradually bring the brush closer and closer to the base of the nail to apply the polish thinly and blend it in with the yellow. It should look like a thin orange layer. It’s fine if it’s not perfectly even, because you will be applying several more layers.
Repeat the same process two more times, for a total of three translucent pink layers. The only difference is that you will need to start each layer slightly higher up than the one before it.
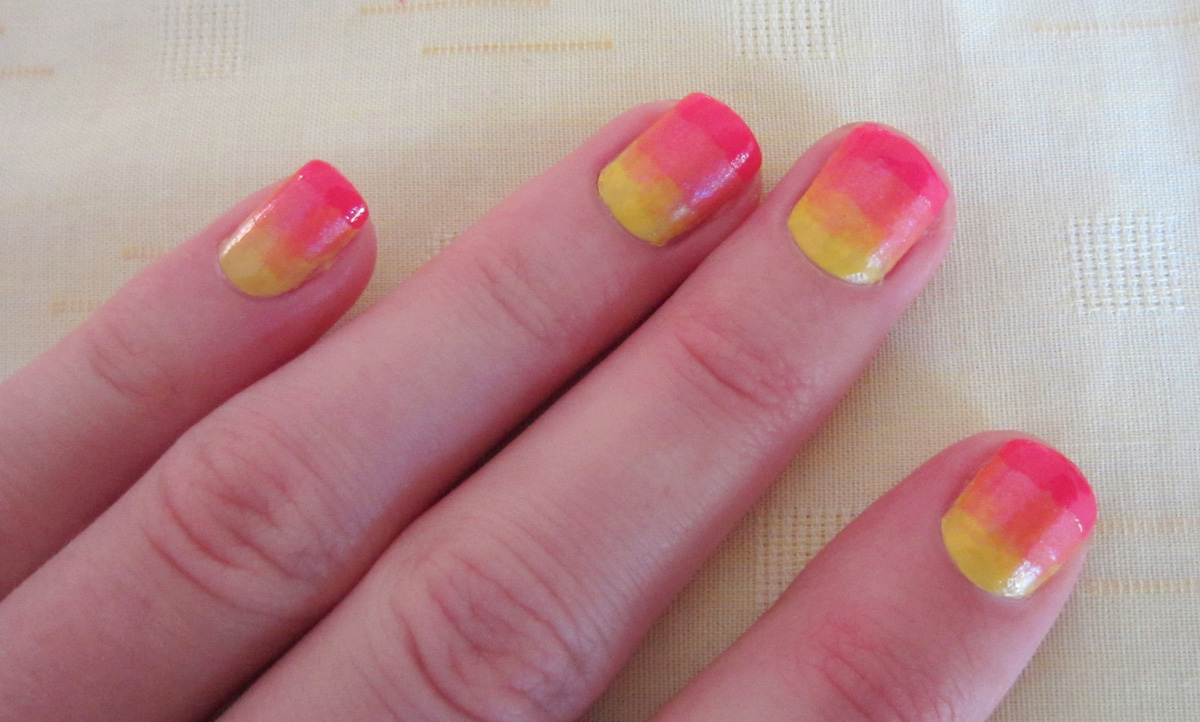
By now the sunset effect should really be taking shape. Now you’ll need the opaque pink. Apply a thin line of this pink across the very tip of your nails, similar to the way you would paint on a French tip.
At this point it might look a bit blocky, like the picture above. This is why you will need one final coat of the translucent pink. Apply it to your nail starting just a few milimetres below the opaque tips. This helps to blend the bright, solid tips in smoothly with the rest of the gradient. The final result should look similar to what you see below:
There you have it! Beautiful, sunset nails! The perfect summer manicure!
I think these sunset nails would look amazing on long nails, but as you can see, my nails are on the shorter side and the effect still looks pretty cool. I think I’ll definitely try out the same gradient effect with other colours in the future!
If you’d like to see a step by step process of how to achieve these sunset nails, check out my video tutorial below:
I hope this tutorial helped you achieve the perfect gradient look for your nails, and I hope you’re having an amazing summer! Until next time,
♥ Shnugglebunny
Tags: DIY, gradient, gradient nails no sponge, gradient nails without sponge, gradient without sponge, manicure, nail ideas, nail polish, nail polish gradient, nail tutorial, no sponge, ombre, ombre nails no sponge, ombre nails without sponge, ombre without sponge, revlon glimmer gloss, sally hansen new lengths ceramics, summer, summer nails, sunset manicure, sunset nails, wet n wild wild shine


