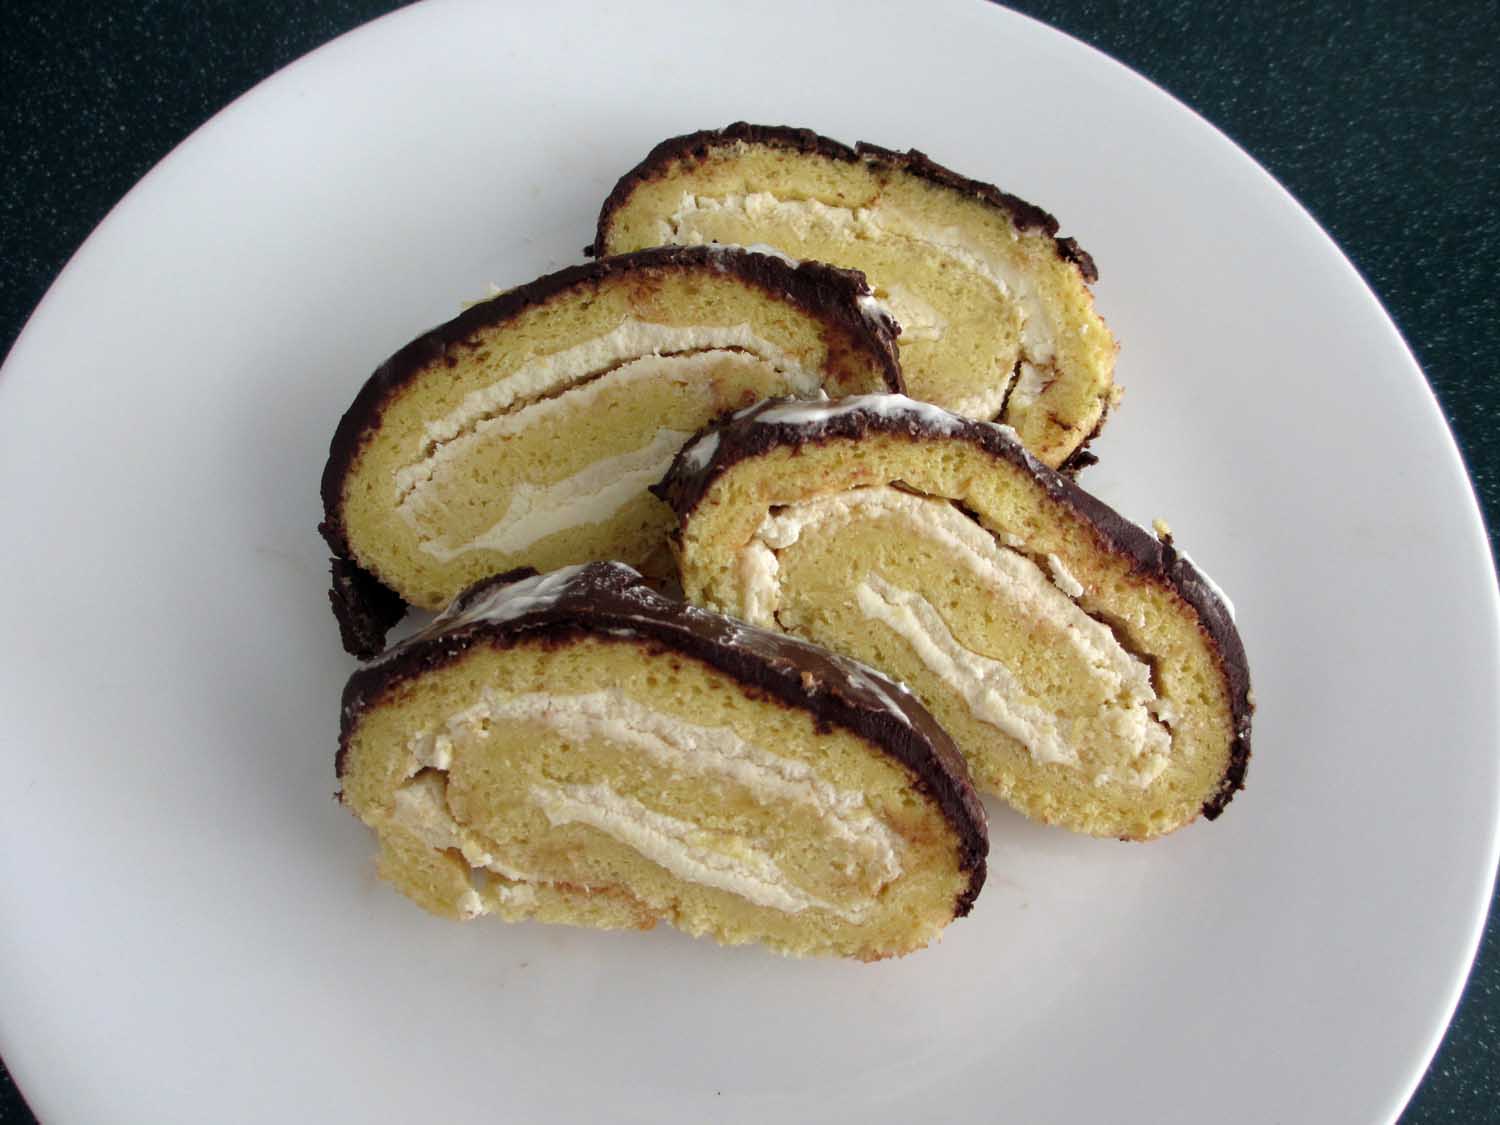
This year for my dad’s birthday, I wanted to bake him a really unique kind of cake. I opened an ancient recipe book for inspiration, and stumbled across a page labelled “pinwheel cake.” If you couldn’t tell from my recipe for Pinwheel Cookies, I am a huge fan of baked goods that have an interesting shape or design, so naturally, I decided that I had to try the recipe.
Better known as a “Swiss Roll,” or a “Jelly Roll” in the United States, these cakes are made using a basic sponge cake recipe, then are filled with a whipped cream filling, and rolled up to create a pinwheel shape when they are sliced. I also decided to add a tasty chocolate exterior to the cake by mixing up a chocolate ganache using the cream that I had left over. Considering this was my first time making a Swiss Roll, I think the result was quite excellent, wouldn’t you agree?
To download a copy of the recipe, follow this link: Swiss Roll Cake. You can also watch my tutorial video that shows a step-by-step guide of the baking process. Be sure to subscribe to my Youtube Channel while you’re at it 🙂
The secret to a successful Swiss Roll is in the baking process. Be sure to line your jelly roll pan (which is a shallow pan that is 10×15 inches) with parchment paper. For experienced bakers, this is common knowledge, but be sure that you are using parchment paper and not waxed paper, or you’ll be left with an unpleasant situation in your oven! The parchment lining allows the cake to easily be removed in one piece.
Another secret to a flawless Swiss Roll is to remove the cake from the pan almost immediately after taking it out of the oven. Invert the cake onto a clean tea towel, then immediately roll it into the towel while it is still warm. Start from one of the shorter ends, fold the excess towel on top of the cake, and begin rolling the cake. If the cake cracks a little bit, it is not a big deal, but it is less likely to crack if it hasn’t had time to cool yet. Once it is fully rolled into a tube shape, allow it to cool while you prepare the filling and the ganache.
To fill the cake, I simply unrolled it, spread the whipped cream filling over top of it, and rerolled it gently. Some cream filling did spill out of the edges, but if that happens you can just scoop it off with a spoon or knife. Then I poured the chocolate ganache over top of the cake, spread it with a pastry brush, and put my cake in the refrigerator to allow the ganache to set. The resulting cake can be seen below! (The writing on top says “Happy Birthday.” My dad loved the cake, by the way!)
We were a little impatient to eat the cake, so the ganache didn’t have time to set properly before I cut the cake into slices. Even so, the pinwheel effect turned out very well, and the cake tasted delicious!
I plan on experimenting with variations of this cake, because it was so fun to make! I’m thinking of doing a chocolate sponge cake, or perhaps a chocolate filling. Or maybe even a coffee flavoured cake with a marshmallow creme filling, similar to the one used in my Rainbow Cupcake Bites recipe. The possibilities are endless!
Until next time,
♥ Shnugglebunny
Tags: cake, chocolate, chocolate ganache, cream filled, jelly roll, pinwheel, spiral, sponge cake, swill roll cake, swiss roll, whipped cream


