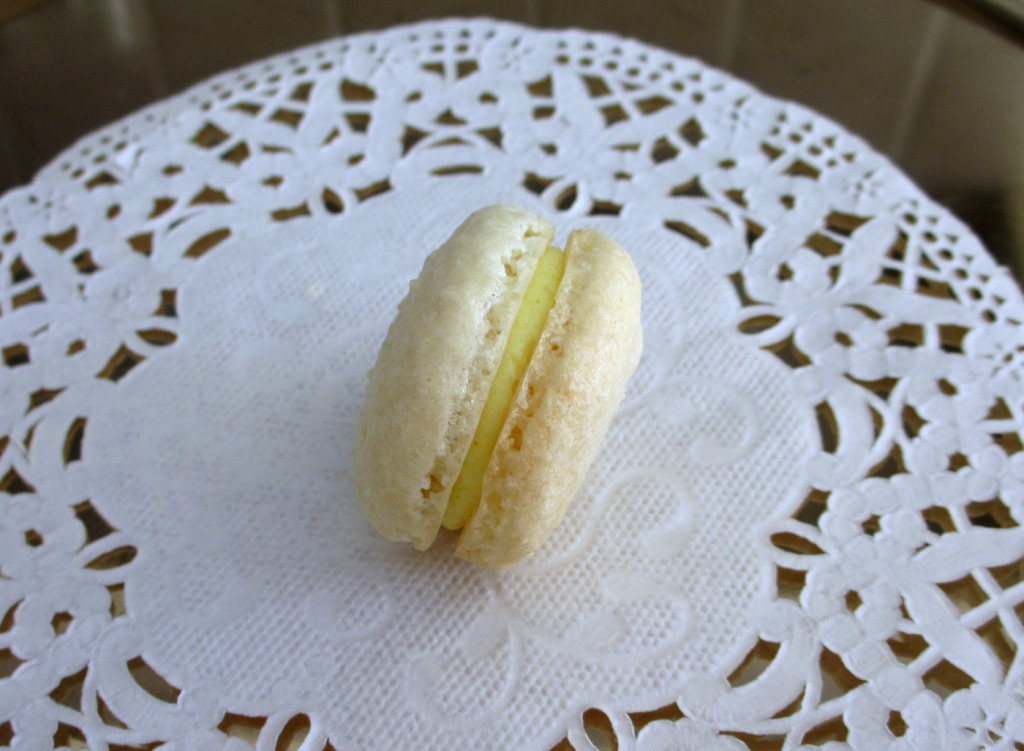
After countless hours of reading written guides and watching video tutorials about baking macarons, I had both successful and unsuccessful attempts when I baked macarons. I learned a lot from these experiences, so I decided to compile my knowledge into this blog post of macaron tips so you can learn a few things that will hopefully help you out. This post covers important steps, as well as crucial Do’s and Don’t of Baking Macarons. I wish you good luck in your macaron-related endeavors!
Preparation
Preparing Your Baking Trays
- Double up your baking trays (put two baking sheets on top of one another) to prevent too much heat transfer. This will allow the macarons to cook evenly without absorbing too much heat from the bottom.
- Line your baking trays with parchment (not wax!) paper or a baking mat. Some people use silicone mats like the Silpat, and others use mats especially designed for macarons. I have used the latter and found it to be quite successful, so for more information, read my Review of the Lekue Macaron Kit.
Using Almond Flour
- If you have a food processor, you will want to grind up your almond flour so it becomes finer in texture. Before using it, you will also want to run your almond flour and icing (powdered) sugar through a sieve to prevent lumps.
Getting Ready to Beat the Eggs
- Separate your egg whites carefully to ensure that there are no traces of yolks inside, because this can prevent your egg whites from beating properly.
- Before beating your eggs, DO remember to use clean utensils and bowls. Even the smallest trace of grease will prevent your egg whites from achieving and maintaining stiff peaks.
Mixing
Beating the Eggs
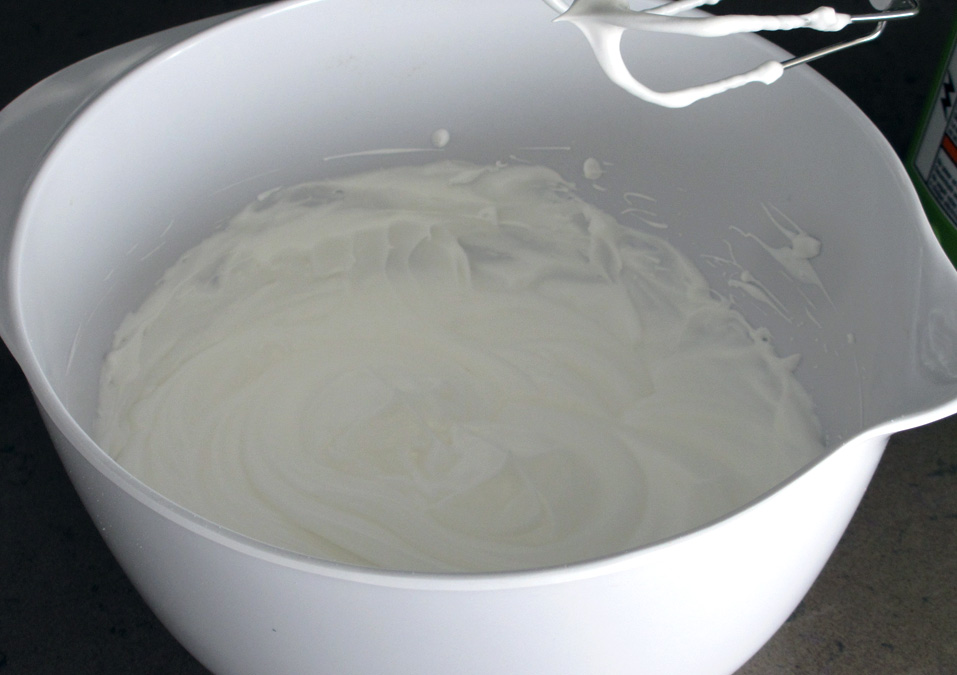
- DO beat your egg whites long enough until they hold stiff peaks. A popular test is holding the bowl upside down – if the eggs are stiff enough, they should maintain their form without spilling out.
Coloring Your Macarons
- Add color to your beaten egg whites before adding any of the other ingredients. It is best to put away the mixer and stir the color in gently.
- Color your egg whites a few shades darker than what you would like your macarons to look like. Some of the color will fade when baking.
Incorporating the Dry Ingredients
- The egg white mixture is very delicate, so add your dry ingredients gradually. DON’T mix them or beat them in. DO fold them in gently using a spatula. Use a scooping motion to scrape the bottom of the bowl and ensure that the almond flour gets incorporated.
- The key to macarons is mixing just the right amount. DONT undermix, but at the same time, DONT overmix. You should fold the mixture about 50-60 times. Of course, it’s safer to undermix than to overmix, because you can always mix it a little bit more, but you can’t undo what you’ve already done. See the piping tips below to determine if your mixture needs to be mixed longer.
Transferring to the Tray
Piping
- To make your macaron shells, you will need either a piping bag or other piping tool. I used a tool called the Decomax, which came with my Lekue Macaron Kit. Whatever tool you use, ensure that it is fitted with a large round tip. The mixture is very delicate, so handle it with care when transferring it to your piping bag.
- One thing to keep in mind when piping the shells is that the mixture is fairly light and will hold its shape for the most part. For this reason, you DO NOT want to pipe the shells the same way that you would pipe a swirl of icing on a cupcake. I made this mistake the first time I made macarons and I ended up with tall macarons that leaned over to one side. Instead, hold the piping bag in one spot and allow the macaron mixture to expand outwards as you pipe.
- In order to tell if your macaron batter is mixed sufficiently, take a look at your shells after you have piped one row onto your tray. At this point, the first few should have started to flatten and spread out slightly. If the shells have not begun to spread out, put your batter back into the bowl and fold it a few more times before attempting to pipe again. This will prevent your macaron shells from becoming too tall when they are baked.
Waiting before Baking
- After all of your shells have been piped, pick up your tray and bang it firmly on the counter several times. Rotate the tray 180 degrees, and bang it a few more times. The banging will help remove air bubbles. At this point, you can take a spoon or spatula and smooth out the tops of the macarons if you would like to eliminate any points or imperfections. Then set the tray aside.
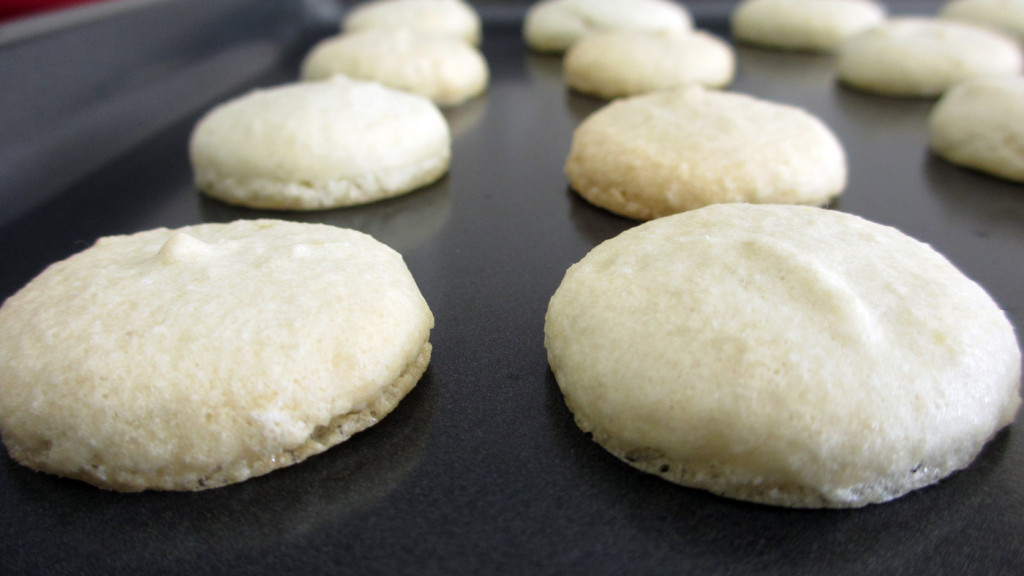
- Leave your tray of macaron shells on the counter to dry out for at least 30 minutes before putting them in the oven. This will allow them to rise upwards and not outwards when they are baked, and will also prevent cracks in the shells. After 30 minutes, lightly touch the top of a shell. It should still feel a little tacky, but the batter should not stick to your finger.
NOTE:
Humidity can severely affect the outcome of your macarons. On a humid or rainy day, your macarons are unlikely to dry in 30 minutes. On a rainy day when I was baking macarons, I left mine on the counter for 1 hour and 20 minutes and they still weren’t completely dry. When I baked them, most of them turned out fine but a few suffered from cracking. There isn’t much harm in leaving your macaron shells out for a few more minutes just to be completely sure that they are dry.
Baking
- It is often a good idea to bake your macarons at a slightly lower temperature (around 275-300 degrees) for a longer period of time to prevent the macarons from overcooking. Every oven is different, so practice to learn exactly how your oven works when baking.
- Bake one tray of macarons at a time, so that all the shells bake evenly.
- Do NOT put the macaron tray on a high rack when baking, to prevent the tops from getting browned.
- Do NOT open the oven door during the first half of baking.
- Based on your recipe’s cook time, watch your macarons closely during the last 6 minutes or so of baking to prevent them from overcooking.
- When you try to remove them from the tray, if they are a little sticky or do not come off the parchment easily, they are undercooked and should go back in the oven for a few minutes.


